跳至内容
跳至内容 
Do all store-bought hangers and racks feel the same? Or maybe you want your closet, bedroom, or even living room to have that “I made this myself” vibe. The good news is, building your own custom clothes rack is easier than you think—and actually pretty fun. Plus, nothing beats the satisfaction of telling friends, “Oh this? I built it myself.”
This step-by-step guide walks you from material prep to final touches. Grab your tools, play your favorite playlist, and let’s get building!
Step 1: Prepare Your Materials
Before cutting and drilling, gather all the materials you need.
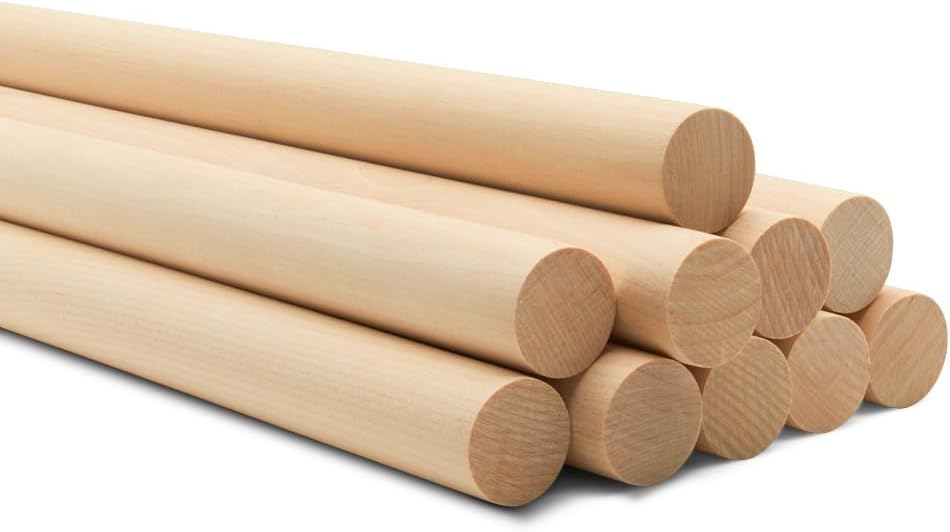
Choose solid wood like pine or oak for a rustic, durable style. PVC pipes work well if you want something lightweight and modern, while bamboo poles or wooden dowels give a natural, cozy feel.
A horizontal bar between 60 and 100 cm and a height of about 1.8 m fit most spaces.
For stability, prepare 3–5 cm screws, L-brackets, some wood glue, S-hooks for bags or hats, and non-slip pads for the base.
Finally, smooth all surfaces with 120–240 grit sandpaper, and finish with wood wax or spray paint if you want extra protection and a polished look.
Step 2: Get Your Tools Ready
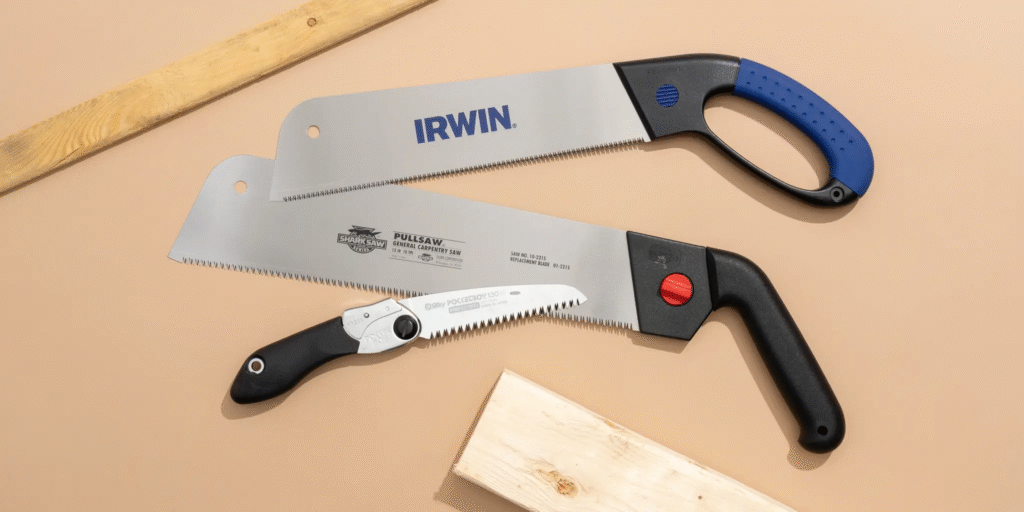
You don’t need a full woodworking shop—just a few essentials will do. A hand saw or electric saw will handle your wood or PVC cuts. A drill is key for making clean holes, and a screwdriver or power drill will make assembly faster. Don’t forget a measuring tape and pencil for precise markings, and use sandpaper or a sander to smooth the surfaces. A paintbrush will come in handy for applying wood wax or paint at the end.
Step 3: Pick Your DIY Rack Plan
Here are three simple and beginner-friendly rack designs. Choose one based on your space—or make them all if you’re feeling ambitious.
Option 1: The Simple Freestanding Rack
This rack works well in bedrooms, laundry corners, or any unused space.
Sketch a simple design first—about 1.8 m tall, 60 cm wide at the base, with an 80 cm horizontal bar. Cut two vertical poles (1.8 m), one horizontal rod (80 cm), and two base pieces (60 cm). Cross the base in an “X” shape if you want extra stability.
Sand all edges smooth, then assemble the frame. Attach the poles to the base, drill a hole 20 cm below the top for the horizontal bar, and add a bit of wood glue for strength. Stick non-slip pads to the bottom.
Finish with wood wax or spray paint, and once dry, your DIY rack will look clean and stylish.
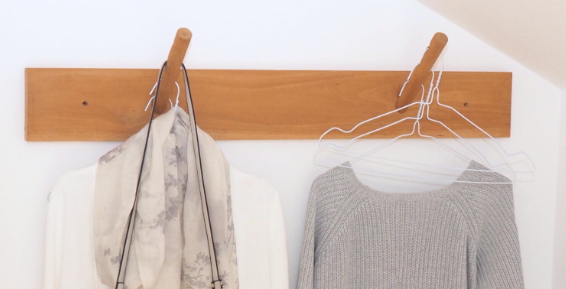
Option 2: Wall-Mounted Clothes Bar
If your floor space is limited or you want a boutique-style display, this is a great choice.
Cut a wooden or metal rod to fit your wall and attach a flange to each end as the support base. Use a level to mark your wall before drilling. Once the holes are ready, insert wall plugs, secure the flanges, and slide the rod into place.
For extra function, add a few S-hooks for bags, scarves, or hats. If you want an Instagram-worthy upgrade, place a small shelf or potted plant above the bar for a cozy, stylish vibe.
Option 3: Lightweight PVC Rack
PVC pipes are the unsung hero of DIY—they’re cheap, flexible, and fun to work with.
Cut the pipes to form a rectangle or triangle frame, then connect them with T-joints and elbow connectors. If you want the rack to be collapsible, skip the glue; if you want it sturdy, use PVC cement.
Add some personality by wrapping the top with jute rope or using colorful tape. This rack is light, portable, and perfect for renters or temporary setups.
Step 4: Safety and Smart Tips
Before loading up your new rack, hang something heavy for a day to test its strength. If your rack will live in a humid area, seal wooden or metal parts with waterproof wax or clear finish. And always wear goggles when cutting. If the rack is for a kid’s room, round off every corner and sand thoroughly to avoid any scratches or bumps.
Step 5: Creative Upgrades
If you want to level up your rack, the options are endless. Swap the horizontal bar for a telescopic rod so it adjusts to different spaces. Add small wheels to the bottom for easy movement and cleaning. Or combine the rack with storage baskets or small plants to turn your DIY project into a mini designer piece.
The Fun Part
Building your own clothes rack isn’t just about saving money—it’s about creating something unique that fits your space and style. Whether it’s a freestanding wooden frame, a sleek wall-mounted bar, or a playful PVC rack, you’ll feel that little burst of pride every time you hang a shirt and think, “Yep, I made that.”
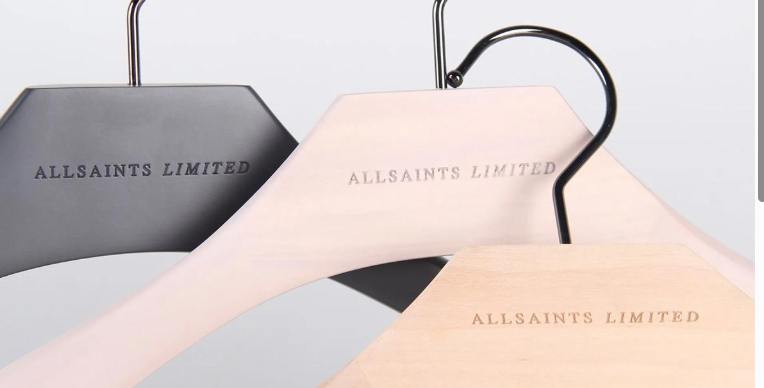
And if one day you need dozens—or hundreds—of perfectly matching, professional hangers for a shop, hotel, or studio, that’s when you call a custom hanger manufacturer. Until then, enjoy your DIY masterpiece!